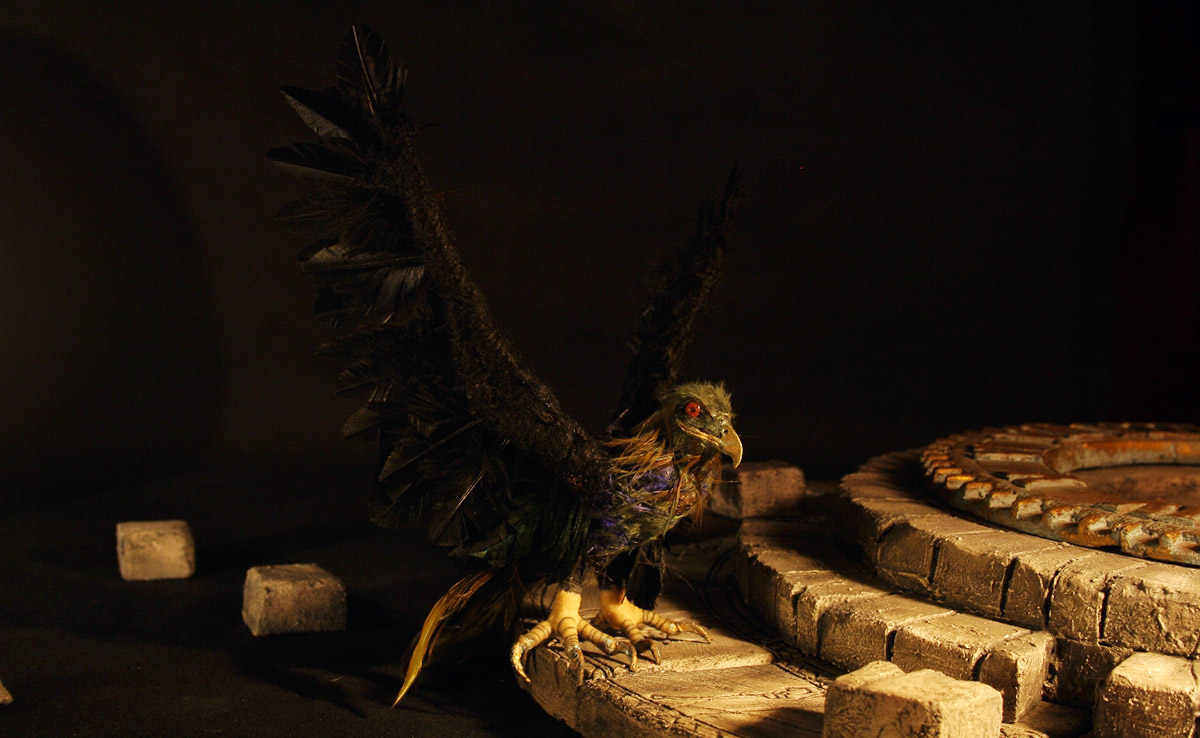
Finally, I am posting about stop motion bird Kush… A lot of things happening here since my last post. I moved my studio to another room in our house, tried making a rig for Kush, purchased AnimatorHD Personal and tried Lumix. This post is going to be long enough so, I will post about these later. SO, here she is; Kush… you can click to enlarge:


And a quick flying test done with Canon 350D without live view and a spycam.
Here is the process:
Adding Rig Points and Final Tweaking of the Armature for Stop Motion Bird

I first revised legs and the tail. Added 2 rig points to the top on her back and 2 other below the shoulders through her thummy. Later I fixed the detachable wing part with epoxy putty. Because I decided to make the feathers in a different way and it was not possible to have detachable wings.
Click here to view bird armature making process of Kush.
Preparing Stop Motion Bird Kush for Feathers and Making of Claws 1

I glued foam onto the armature using a spray glue then trimmed with a small scissor. Old winter socks became the skin to glue over feathers later. I sewn the fabric with a black thread tightly. Then I wrapped claws with yarn.
Making of Feathers for Stop Motion Bird

For the wings; I used real bird feathers. Cut those into small sizes and then sewn over the yarn covered wing parts. For the torso, I glued colored feathers directly. Colored feathers are from a funcky hair clip of mine. Hey wait… “the master of puppets” came to give me some ideas in the middle of this process. See picture in the bottom center.
Claws of Stop Motion Bird Kush

Fingers seemed too thick to me. I ripped off previously wrapped yarn and replaced with a thinner one. Then operation time… Covered body with aluminum foil and applied liquid latex over yarn covered fingers by a piece of foam. After 2 layers of latex is dried I wrapped black thread to make the stripes over fingers. And applied another layer of latex and left it to dry. (you can also use hairdrier for faster drying.) Thanks to Nick Hilligoss for his tutorials about how to work with liquid latex. If you have not done yet, make sure to check out his pages. I have learned a lot from his tutorials.
Claws… I made claws out of a thin cardboard. Dipped each claw shaped cardboard into black tinted liquid latex (with acrylic paint) and left to dry. Then attached claws to fingers with un-tinted latex. Thanks to The Lone Animator for this great idea.
And my favorite process: patina.. I wanted this bird look very old, ancient… So, I applied blue antique powder paint first and then gold wax metalic finish. I did the same for the nib which you see below.
Head of Stop Motion Bird

I made the head out of super sculpy. Painted with acrylic and covered with feathers. Applied gold with a patina process to the nib. Then fixed the head into its place with a piece of epoxy putty. The head can still move a little allowing turning right and left, bending back anf forth.
***
I cant help to post this picture. We had a lot of fun with my daughter in the dark room while shooting the above test. She came in right before I started shooting and mixed up everything. I had to adjust all again after she left but that was totally fine as I really like to see her around while I work on this film.
